
Making and enjoying crafts requires space to spread out and be creative and to quickly store your masterpiece-in-progress whenever you’re interrupted or called away. In addition, you’ll need even more space to store the materials and tools you use in an organized and productive way.
You can start small with a corner desk in a spare room, or double up so your home office allows you to do personal work. Or you can find space in your basement, addition, or heated garage. Before you create a room of your own, think about craft room decor at the start and you’ll end up with a room that’s not only functional, but one you want to spend time in..
Lighting, a good, big working surface, storage, and easy access to tools are four of the most important aspects to creating room for your crafts. A devoted crafter needs a large working table, a storage cabinet, an easily organized and accessible grab-’n-go tool rack, and a sink or rough equivalent to get started.
Lighting
LED panels are cheap and quick to install. Go to a Home Depot or Lowe’s to find easy-to-install, plug-in lighting panels that will illuminate even the darkest space. 1000 lumens is more than enough light for the average-size room. A new 1000 lumen LED panel should cost you less than $60.
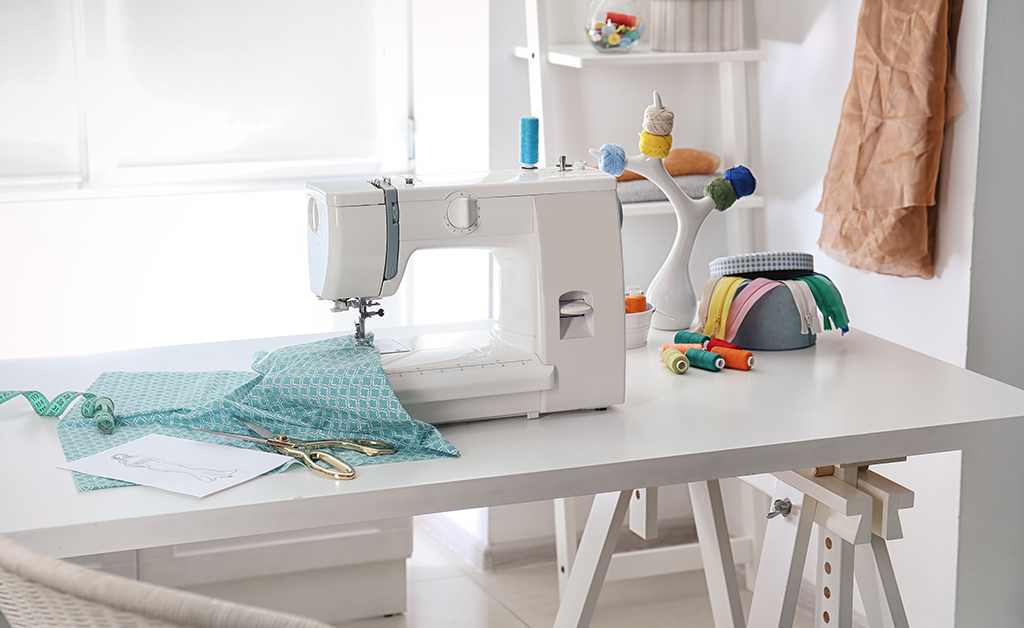
Work Table
Most kitchen counters are 31 inches above the floor. Using that as a guideline, a 31-inch surface provides you with an easily accessible working platform that doesn’t require stretching or stooping.
If you don’t have a folding table already, check online used shopping sites in your area for cheap or free tables. If you want or need to make a solid table, go to a local Habitat for Humanity ReStore and purchase an old hollow core door as a table surface. In larger cities, you could try your local Ikea and purchase a table or desk surface for less in the discount room, where the components of broken furnishings are unpacked and sold cheaply.
Online shopping is useful not only for cheap, ready-made table surfaces, but also for free, broken tables. If you find one with functioning legs, detach its broken surface and reuse the legs for your hollow core door or Ikea desk surface. The advantage of screw-in legs is that they’re not bulky, so you can store other material you will need for your crafts right there at hand. Anything from fabrics to colored or wrapping paper can fit, and larger tools like hair dryers or paints might also be accommodated, depending on their size.
Once the table is assembled, attach rulers or measuring tapes to two adjoining sides of your surface to help you measure your crafts quickly and easily. You can also use a yardstick to draw a square grid on the table surface with a pencil, then make these marks permanent with an indelible marker or chalk paint. You can attach magnetic strips to hold tools you will use for your crafts on the wall above the table.
Storage Cabinet
A lot of material goes into making crafts. You need to organize them or you’ll get buried in an avalanche of paper, ribbons, and fabric. When it comes to getting organized, you can store hangers for school-sized colored paper rolls on the back of your craft room’s door. It’s a little extra space bonus.
Then, find an old filing cabinet, a kitchen hutch, or a library card catalog in any one of your favorite thrift spots. Repaint your treasure so that it’s fresh (you could even color-code the partitions), then position it against an easily accessible wall and attach a light on a spring arm so you can root around in the various cubbies looking for that gorgeous spool of thread or ball of wool.
Alternatively, find an old desk with many drawers. Remove the desktop and replace it with a thick sheet of glass. Now you have a second working surface that enables you to look into the storage drawers to locate things as they come to mind. On top of the repurposed desk, you could put a modular bookcase to store more material and tools.
Grab-and-Go Tool Rack
Do you sew, knit, or do paper crafts? You will need special tools for each craft. Organize your pencils and markers and your needles and scissors by color and size, and deposit them in visible and easily accessible mason or pickle jars. If you are short on jars, you may be able to find some at your local recycling center.
If not, you can chop equal lengths (five to seven inches) of PVC piping with a hacksaw blade and glue them together with plumber’s adhesive. If you’re storing paint brushes, stuff strips of corrugated board into the open necks of the PVC containers to separate different colored brushes.
Happy crafting!