
Add a little color to your home with these creative DIY projects starring paint, fabric, embellishments and more.
Dress up the furniture, curtains or chairs you already own with these easy DIY projects that will add color and personality to your home. Many of them use creative recycling ideas to bring new life to old or cast-off objects—and will leave a lasting impression in the mind of anyone who cruises through on an open-house tour.

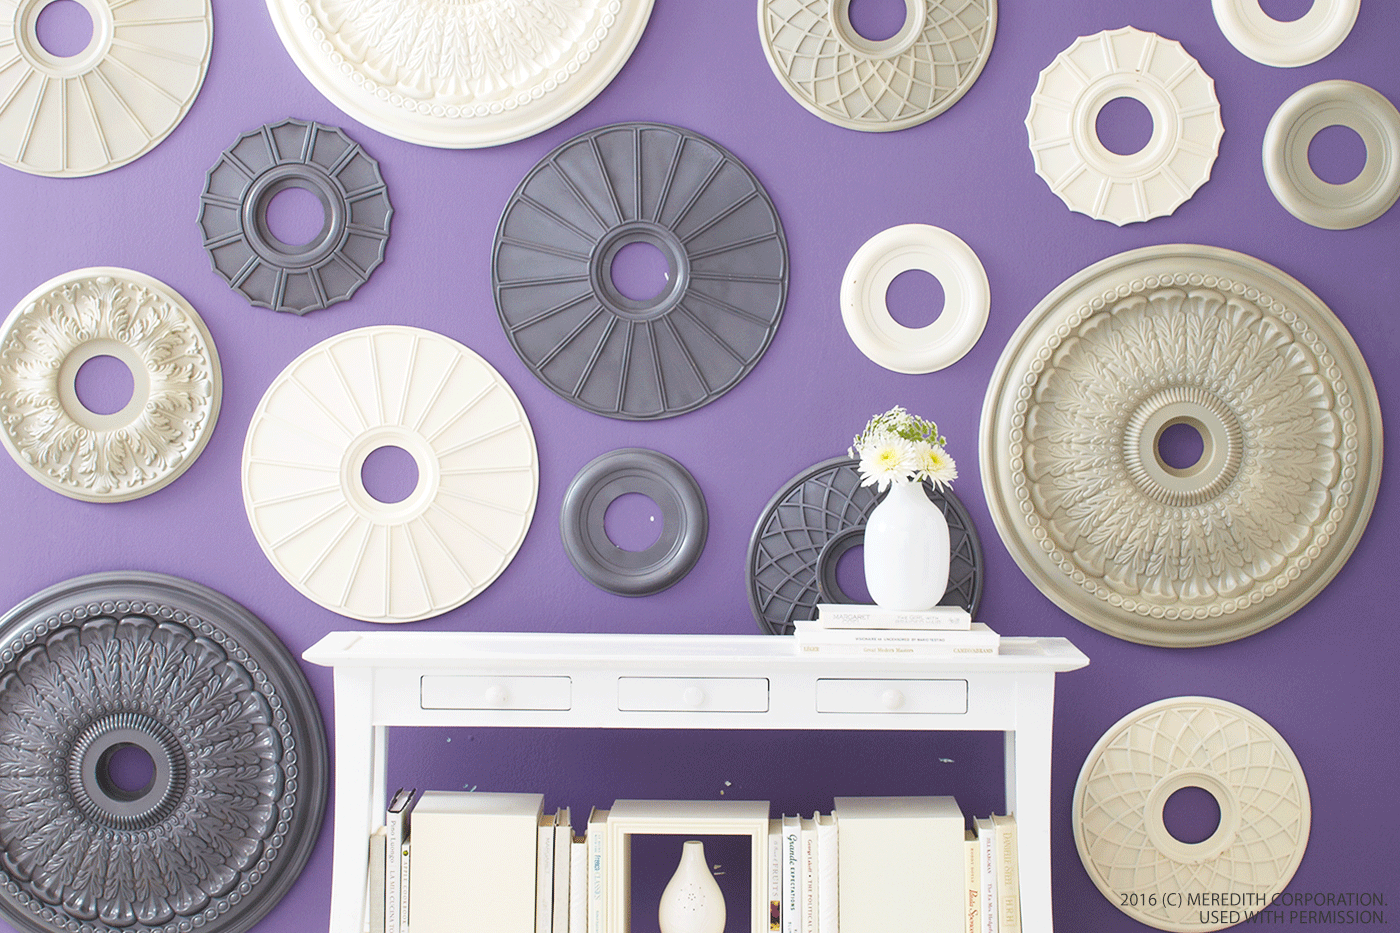
Medallion magic
Make a statement with multiples. Scoop up a collection of ceiling medallions in various sizes and designs. Spray-paint the medallions and arrange on a wall as art. Try neutral medallions on a brightly colored wall, or do the reverse—paint the medallions in fun colors and arrange on a neutral wall.
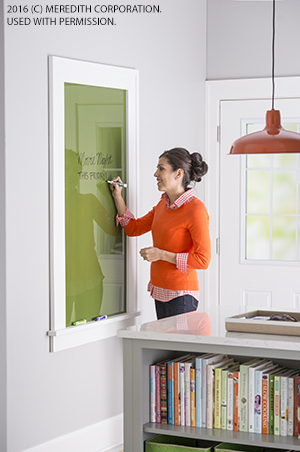
Message me
A handwritten message trumps iMessage or Snapchat. Case in point? The coolest message board ever. It’s simply glass that’s been painted on the back and framed. Messages penned in dry-erase markers show up clearly and erase easily.
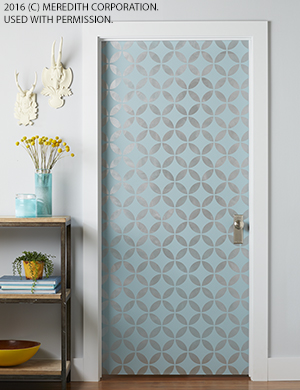
Door panache
This door features aqua-blue paint as the base color and a silvery metallic paint for the stenciled design. To stencil a door: First, remove the doorknob. Prime and paint the door in the base color. Wait two to four hours before stenciling. Use a permanent marker to mark the center of the stencil and the center of each side. Use a pencil to mark the center of the door. Place the stencil in the center of the door, lining up the mark at the center of the door and the mark at the center of the stencil; mark the stencil height and width on the door. Remove the stencil, spray the back with stencil adhesive, and lay the stencil in place on the door, lining up the marks. Using a 4-inch wide roller with the accent paint, roll over the stencil. Apply the paint evenly and lightly—pressing too hard will cause the paint to bleed. Remove the stencil; let paint dry. Realign the stencil, using the painted area as a straight edge and repeat until the entire door is stenciled.
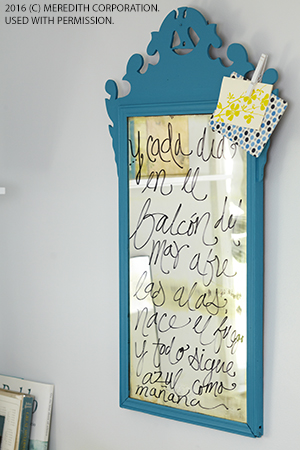
Mirror magic
Sometimes a little color can work wonders for a worn-out piece. The shape of this mirror was eye-catching, but the wood was in poor shape. Primer and two coats of latex paint brought out the best in the piece. A quote scrolled on with a paint pen transforms the aging mirror into a piece of art.
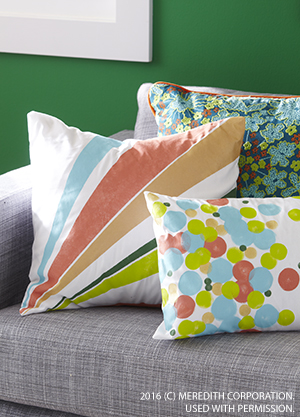
Pillow talk
Transform plain-Jane pillow covers with colorful paints. Slip cardboard inside the case while painting to prevent paint from bleeding through. For the sunburst design, tape off desired angles. Apply paint to fabric using a stencil brush. Remove tape when paint is dry. The polka-dot pillow uses five fabric paints and foam dabbers. Start with the largest dabber and work to the smallest, pressing straight down to apply the color evenly.
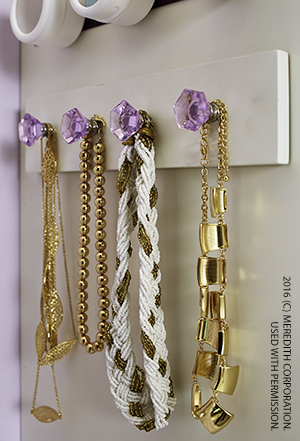
You’re a gem
Craft a storage rack worthy of your prettiest baubles using equally gorgeous cabinet knobs. Prime and paint a 1-by-4-inch board and attach the cabinet knobs. Space the knobs far enough apart to keep necklaces from tangling.
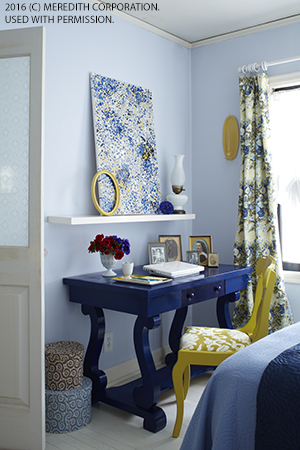
Splatter art
Embrace your inner Jackson Pollock and create gallery-worthy modern art with this splatter technique. Lay the canvas flat on a drop cloth or a newspaper-covered surface. Thin the paint with water, if necessary, to make it drip easily. Using an eyedropper, drop spots and blotches of paint on the canvas. Move the dropper to different heights, shake it and swirl to vary the splotches. Start with a single color, then layer additional colors to create the desired free-form pattern. For a quicker take, use a speckling brush to create a similar effect in less time.
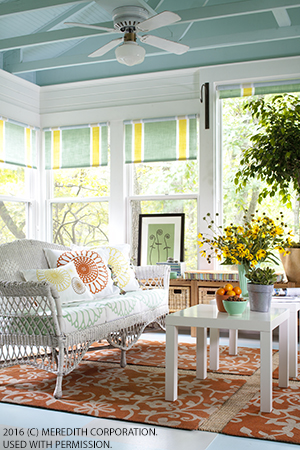
Roll out
Don’t settle for plain roller shades—with a little paint, you can create custom window treatments that perfectly coordinate with your decor. To make these shades, tape off stripes and apply latex paint with a foam roller. Be sure to remove the tape immediately; let dry before hanging your custom creations.
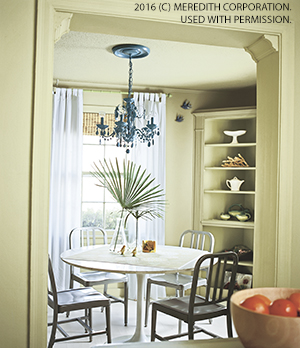
Crystal color
Give a crystal chandelier new life as a colorful light fixture. Spray-paint the entire fixture one color to create an eye-catching focal point.
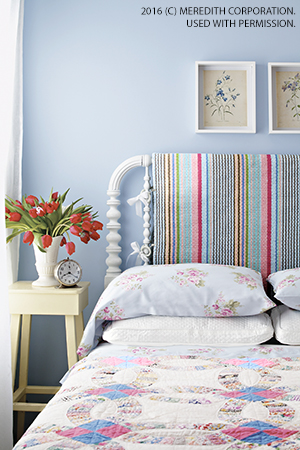
Head of the class
Dress up an existing headboard and add a dose of color. Drape an area rug over the headboard. To secure this rug, we clipped drapery rings to the front and back of the rug. Then, we threaded a ribbon through both rings and tied the ribbon in a bow to secure.
© Meredith Corporation. All rights reserved. Used with permission.